
From a blank page to a sent email
Three steps stand between you and a finished email at app.easyaimail.com : describe it, revise it, send it. Here's the whole path, in the order you'll meet it.
Three steps stand between you and a finished email at app.easyaimail.com: describe it, revise it, send it. Here's the whole path, in the order you'll meet it.
1. Describe the email on the home screen
You land on the home screen after signing in. The input box in the middle is the starting point.
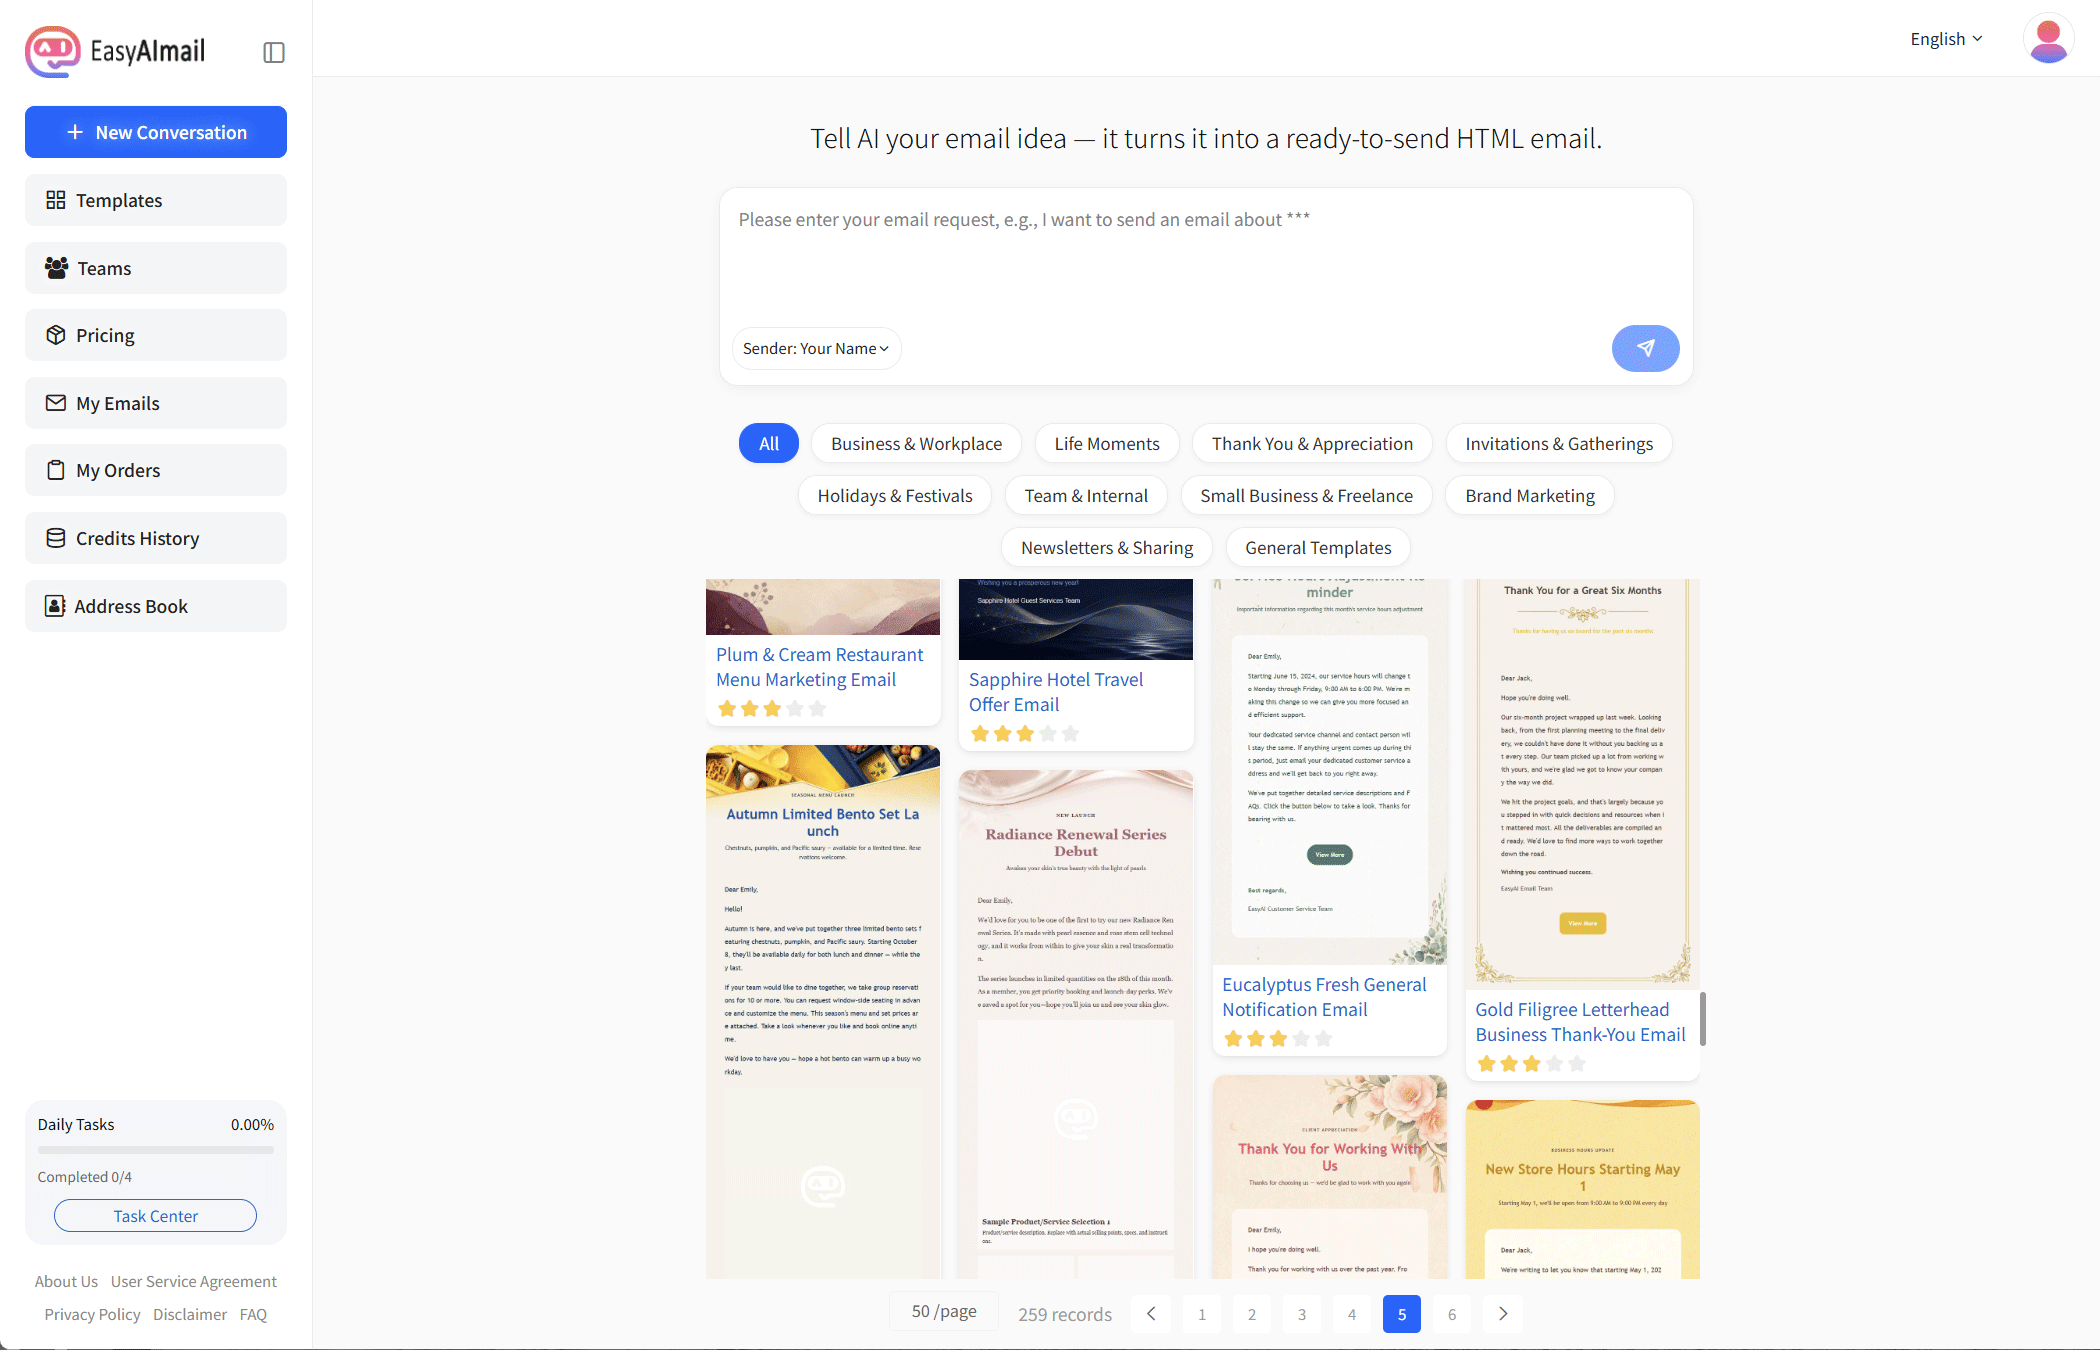
It tells you how to use it:
Please enter your email request, e.g., I want to send an email about ***
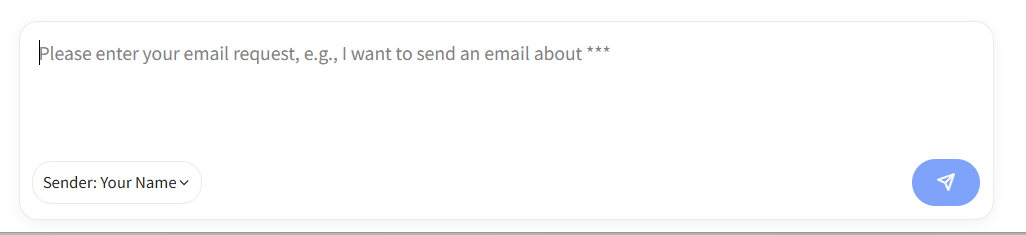
Write in that shape. You don't have to get it right in one pass — the AI asks for whatever is missing (who it's for, how formal, which dates or numbers must appear) and only starts writing once it has enough.
To cut down on back-and-forth, cover five things: who it's for, the occasion, what you want to say, the tone, and any hard facts — dates, amounts, names, company names. There are side-by-side examples in How to brief the AI so it gets it right.
2. It finds a layout for you
You don't have to decide on a template up front. The AI works out what kind of email this is, then picks a few suitable ones from the library and offers them to you.
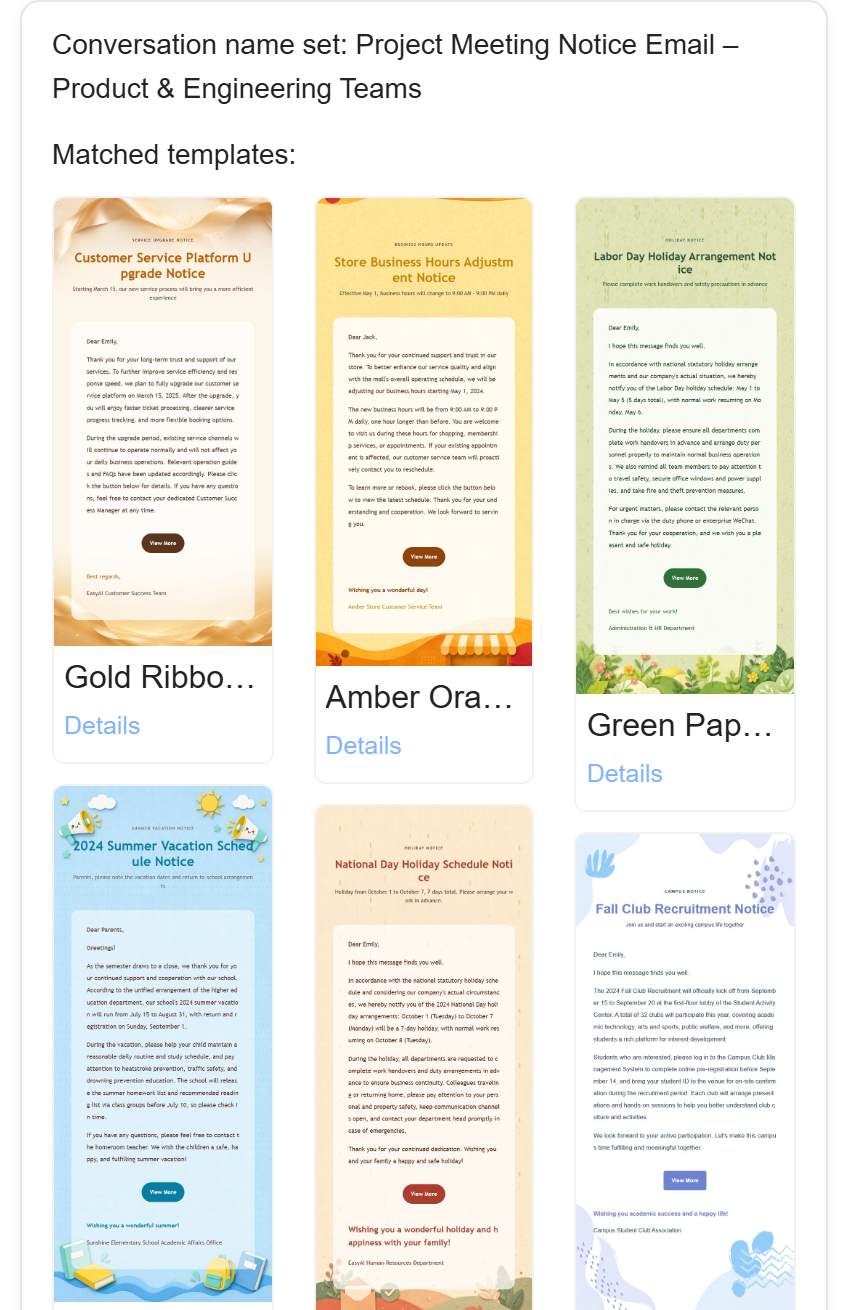
Each one has a Details link that opens a sample email. Pick one and hit Use, and your content gets poured into that layout. View all (N templates) at the bottom jumps straight into the Template Center if you'd rather browse yourself.
Not in the mood to choose? Say "you decide" and it'll settle on one.
3. Check it before you change it
Once the email exists, the row of buttons above it is what you'll actually use:

Preview and HTML Code toggle between how it looks and how it's built, Full Screen shows the whole thing, and Share, Another, and Send Email sit at the right end.
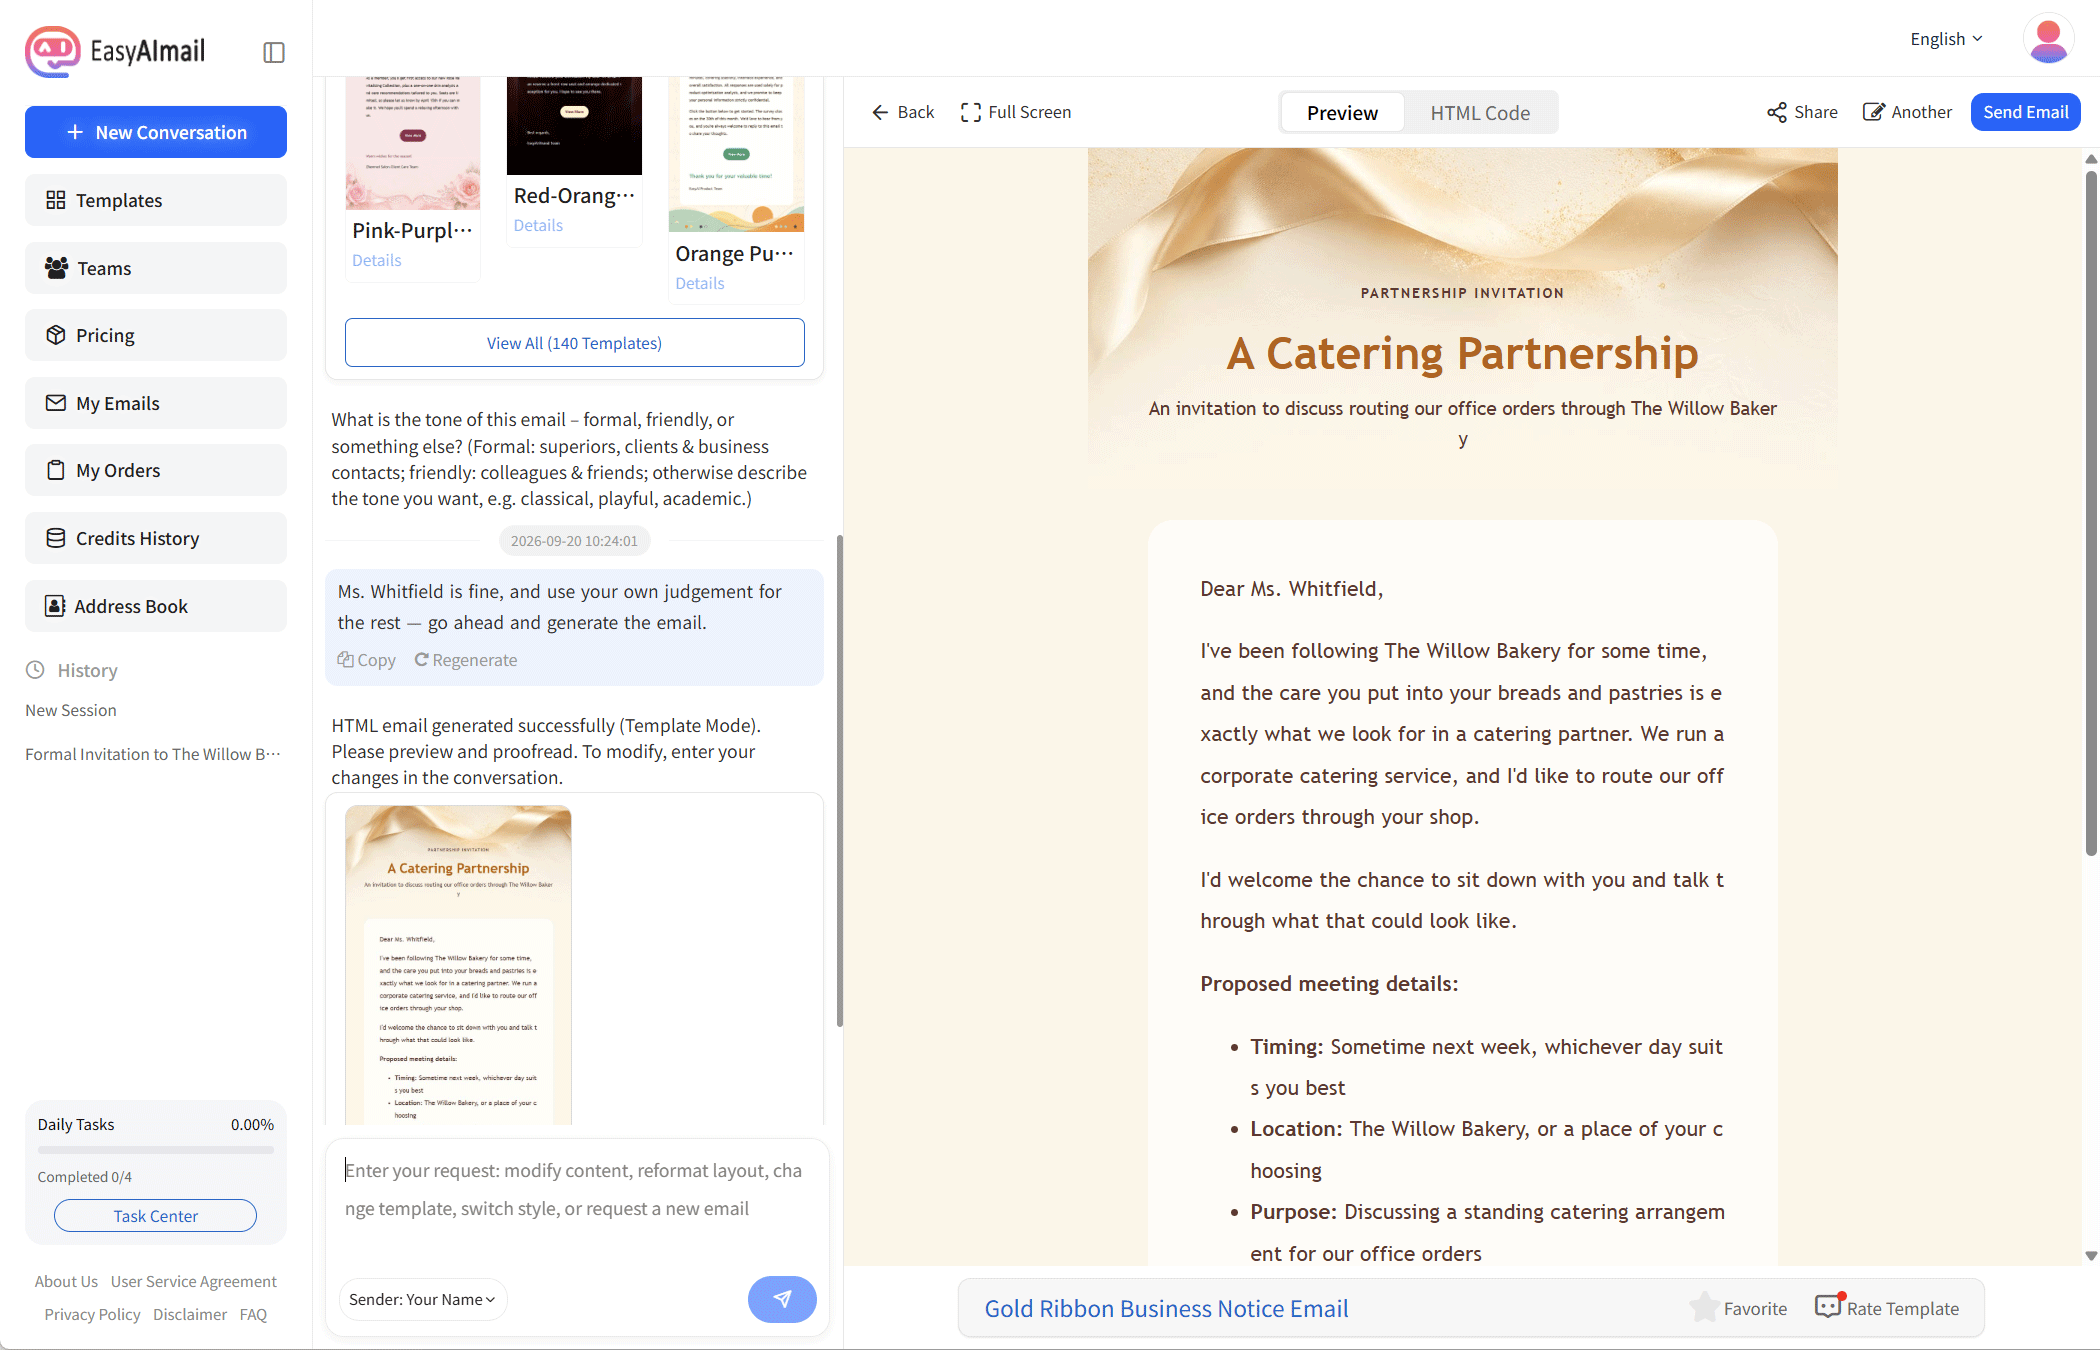
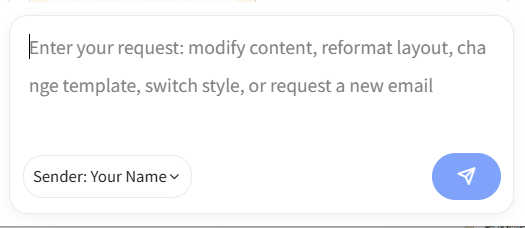
Don't skip the read-through. Names, titles, dates, and amounts are exactly the things an AI gets slightly wrong. To fix something, keep typing in the input box at the bottom — its placeholder changes to "Enter your request: modify content, re-layout, change template, switch style, or a new email request", which is your signal that you're in revision mode.
More on doing this efficiently in How to revise instead of regenerate.
4. Add recipients and choose how to send
Click Send Email and a window opens with three parts:
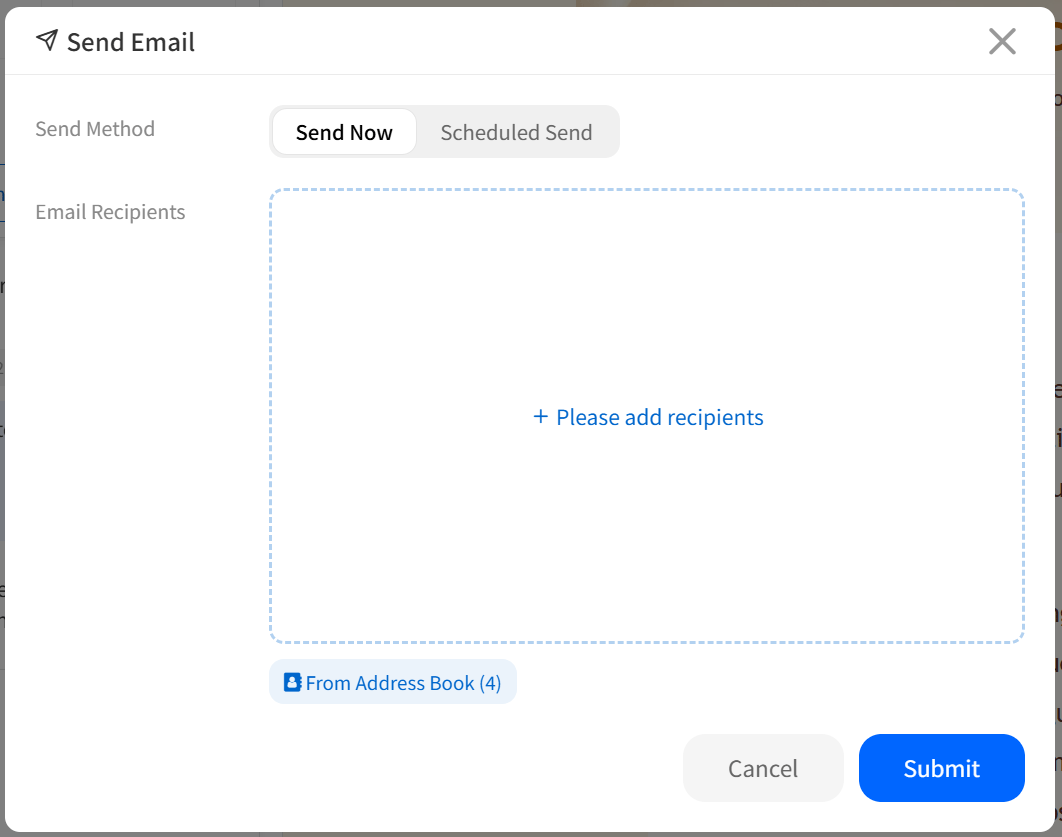
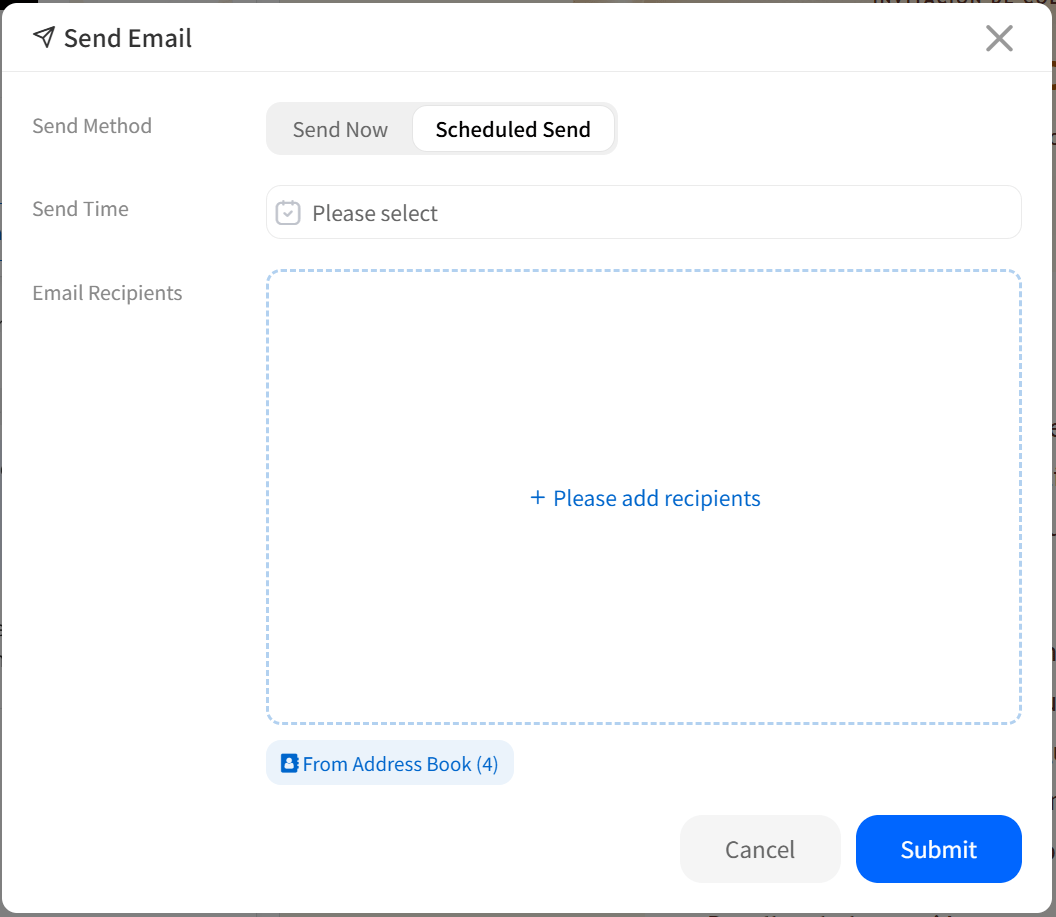
Send Method sits at the top — Send Now or Scheduled Send:

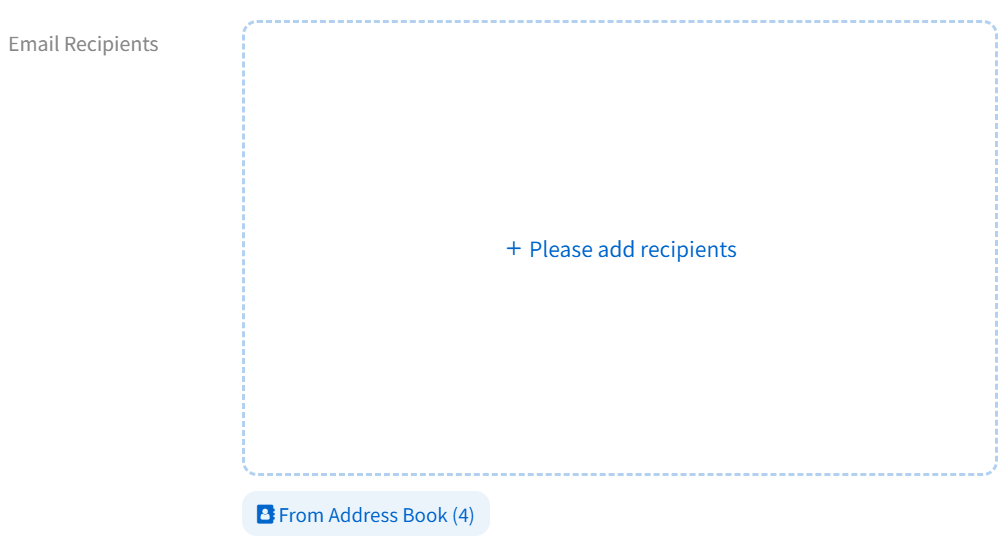
Email Recipients takes typed addresses or a batch import via Choose from Address Book (N):
Sender SMTP Configuration only appears on paid plans. Pick one and the email goes out from your own mailbox; leave it unset and the platform sends on your behalf.
Pick Scheduled Send and a Send Time field appears — choose a point in the future. The interface itself warns that "the email will enter the send queue, and the send time may be slightly delayed", so don't cut it too close.
5. Check your own inbox afterwards
Whichever route you take, a copy is sent to your sending address. That copy is the real thing — the preview panel and an actual mail client use different rendering engines, so details shift.
Sending to a group? The send log shows each recipient's status (Pending / Sent / Failed) so you don't have to ask people whether it arrived.
What those three messages mean
| Message | What it means |
|---|---|
| Please add recipients | Nothing has been added yet; you can't submit without at least one |
| You've reached this month's email limit | Your monthly quota is used up — earn credits via tasks or upgrade |
| No sender SMTP configured — emails will be sent by the system, with a copy to your sending address | Not an error. It's telling you which channel will be used |
For a first run, send it to yourself and walk the whole path once. Emails and conversations are saved, so you can always come back and revise.